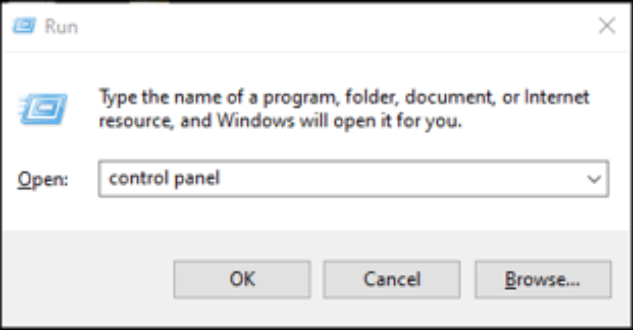
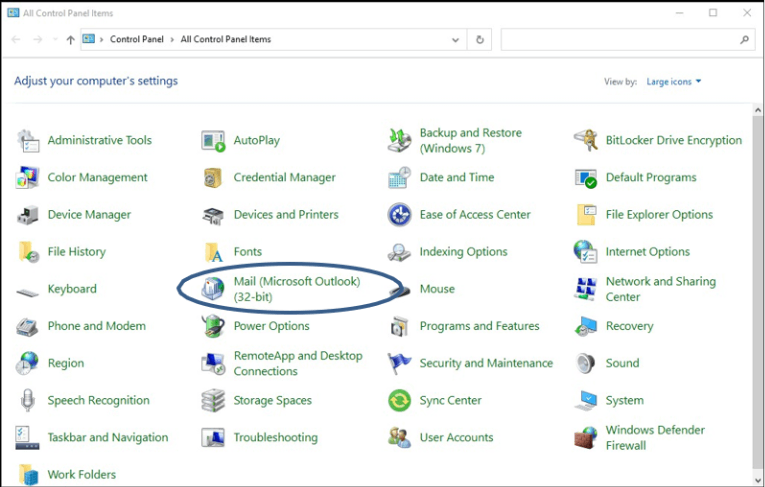
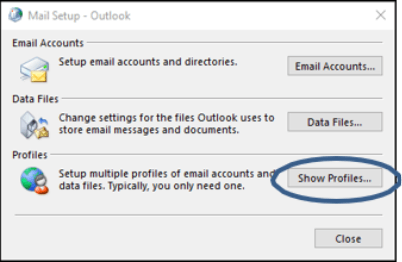
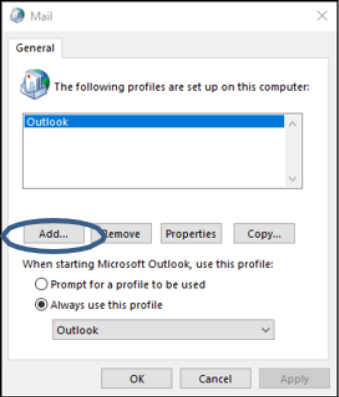
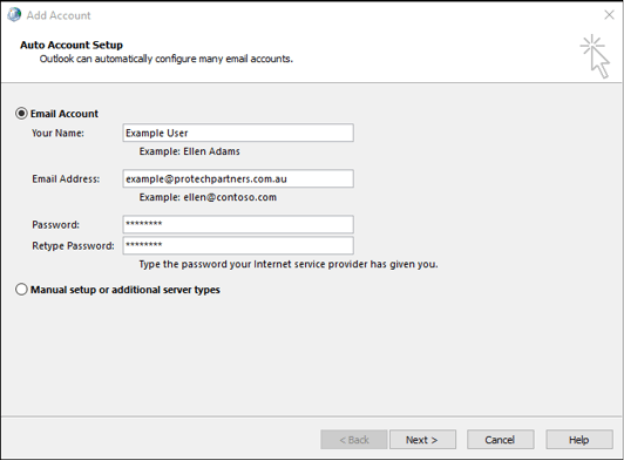
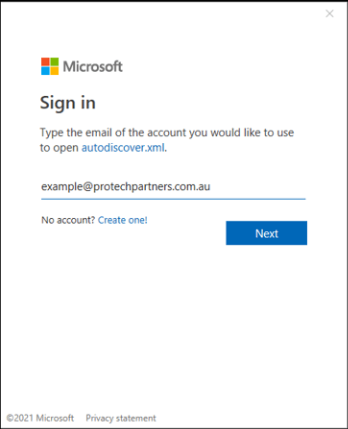
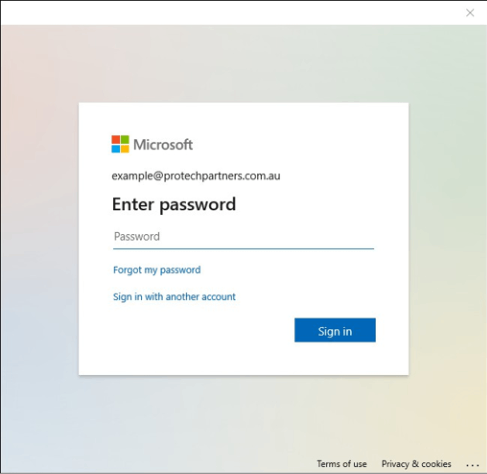
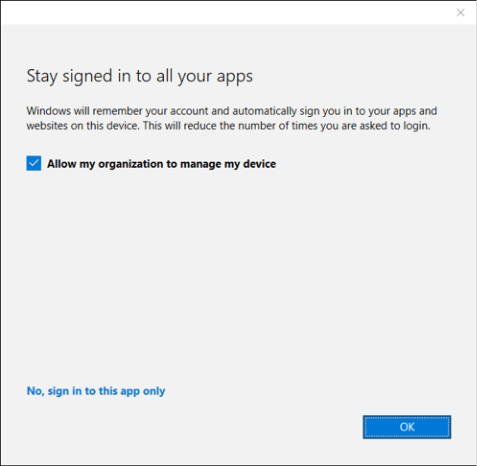
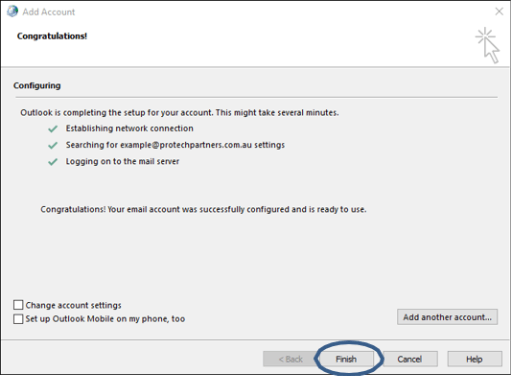
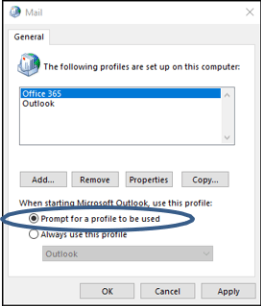
How to Set Up Microsoft 365 Email in Outlook on Windows (Step-by-Step Guide)

How to Set Up Microsoft 365 Email in Outlook on Windows

Step-by-Step Setup Instructions

Step 1

Open the Run dialog by pressing Windows + R, type 'Control Panel', and click OK.

Step 2

In Control Panel, locate and click on 'Mail'.

Step 3

Click 'Show Profiles', then select 'Add' to create a new profile.

Step 4

Enter a profile name (e.g., Office 365) and click OK.


Step 5

In the Add Account window, enter your full name, email address, and password, then click Next.


Step 6

Verify your email address and continue.


Step 7

Enter your password when prompted and click Sign in.

Step 8

If prompted, uncheck 'Allow my organization to manage my device' and select 'No, sign in to this app only'.

Step 9

Click Finish once the setup is complete.

Step 10

Back in the Mail window, select 'Prompt for a profile to be used' and click OK.

Step 11

Open Outlook Classic, choose your new profile, and click OK.

Step 12

Your mailbox will load, and your Microsoft 365 email is now ready to use.

Pro Tips for a Smooth Setup

  • Ensure you have a stable internet connection during setup.
  • Double-check your email credentials to avoid login errors.
  • Keep Outlook updated to the latest version for best compatibility.
  • Restart Outlook if changes do not reflect immediately.

Conclusion

Setting up Microsoft 365 email in Outlook on Windows is simple when you follow the right steps. By creating a new Outlook profile and entering the correct account details, you can access your emails, calendar, and contacts seamlessly. Use this guide anytime you need to configure a new Outlook account efficiently.